
Screenshot text editor
Edit Text in a Screenshot
Update a product name in an old tutorial screenshot. Start with one heading, then check the surrounding interface.
Your workspace
PNG · JPG · WebPFree to try · No account to start
Sign up to download. Free exports include a mark.
See the screenshot edit
Kanban Board → Kandown Board. Close view of the reviewed result.
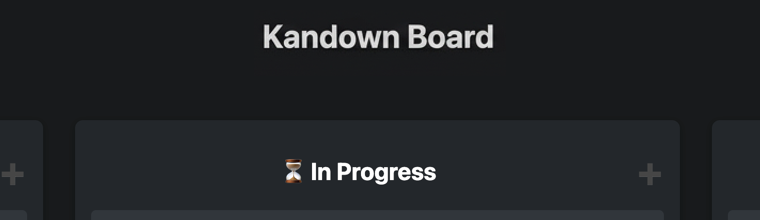
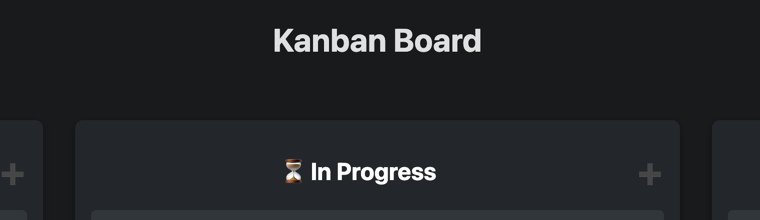
A product-name update for an old tutorial
Proposed edit: replace only the top-level “Kanban Board” heading with “Kandown Board”. The smaller heading inside the embedded screenshot remains outside this edit.
Kanban Board → Kandown Board
Heading and nearby interface — close view
Accepted screenshot editing example
Reviewed Nano Banana 2 result using selection editing. The model generated the replacement; the program retained the original outside the edit window. Compare the lettering and nearby details before accepting your own result.
Compare the complete images as well as this close view. Check the heading, column labels, plus icons, card text and edges; the embedded screenshot must also be inspected.
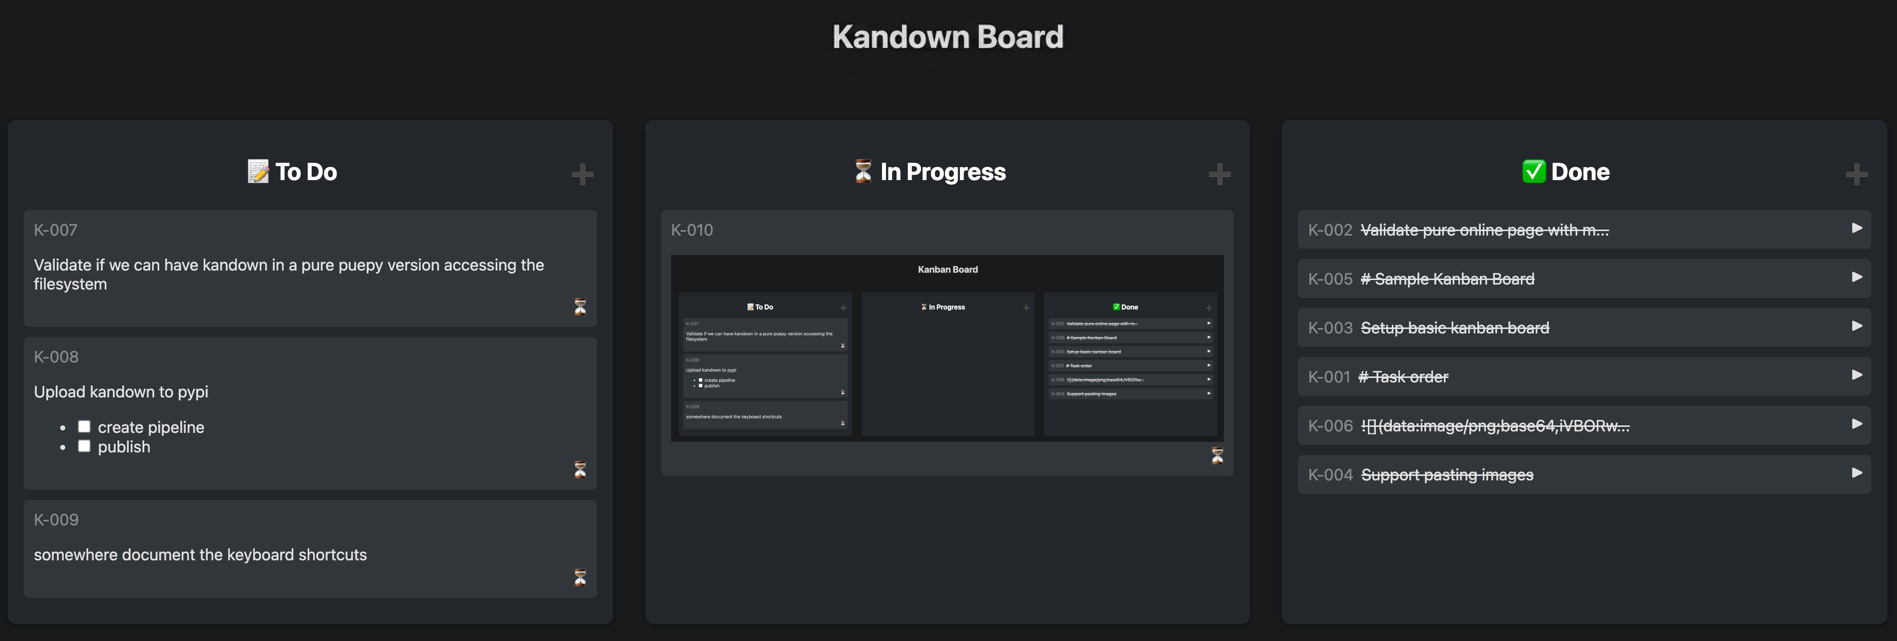
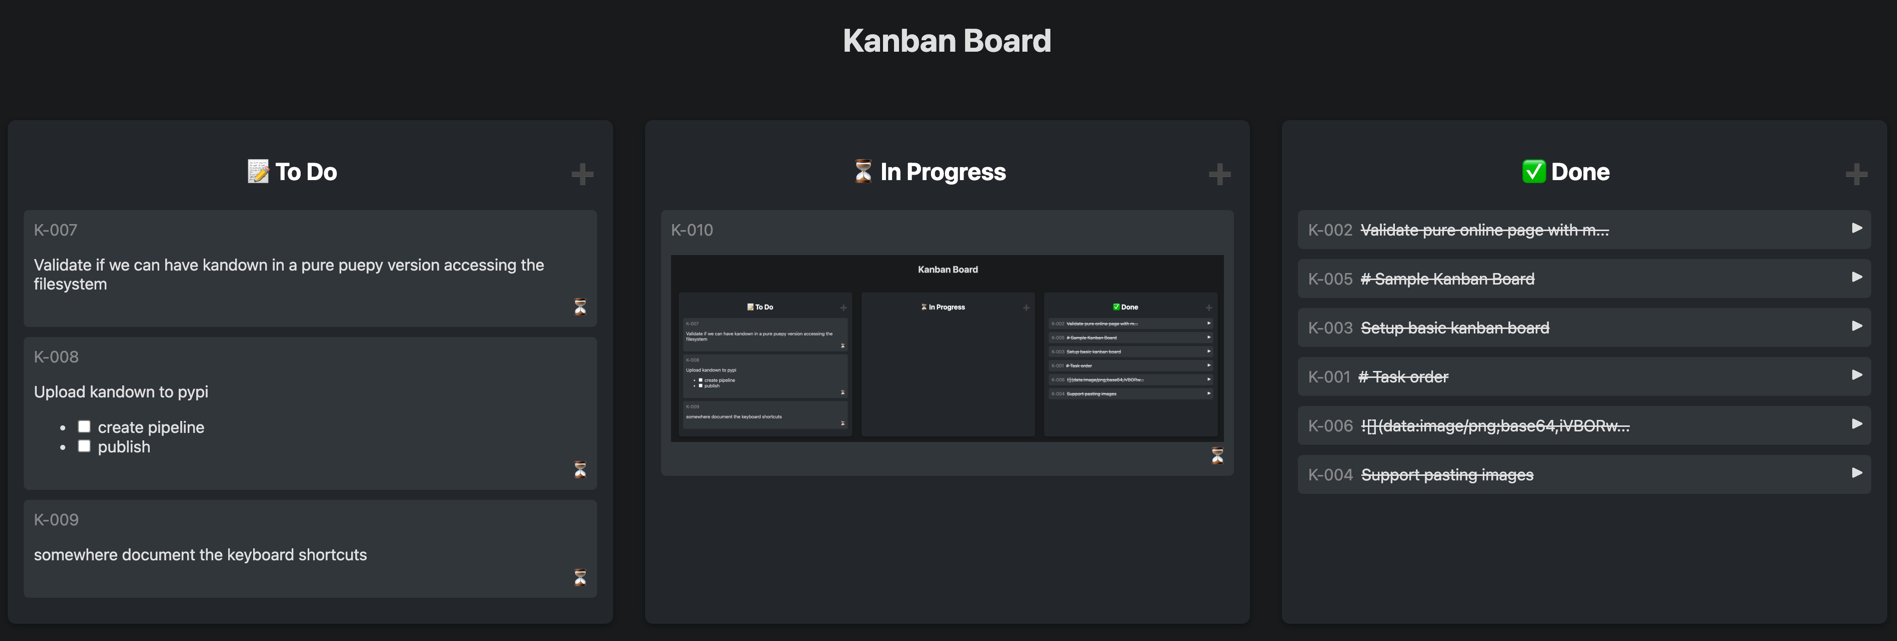
Original screenshot published by eruvanos in the Kandown open-source demo repository (MIT declared in README and package metadata). This is a proposed tutorial branding exercise, not a customer case or a claim that Kandown was renamed.
How can I replace text in a screenshot?
Upload the original screenshot, select the heading and check the scanned wording. Enter the new name, choose ADD and generate a candidate. Compare the complete image and a close view of the heading before downloading.
For an old tutorial, a shorter or similarly sized name is a useful starting point. A longer replacement can change spacing, wrap onto another line or overlap nearby controls. Edit one heading first so you can judge the result clearly.
A screenshot contains pixels, not editable interface components. If you can update and recapture the original app, do that for the most faithful interface. Editing the screenshot does not rename the app or update its data.
Update one tutorial heading in four steps
Keep the original capture for comparison.
- 1
Upload the original screenshot
Use a clear PNG, JPG or WebP up to 10MB. Avoid messaging-app compression. Enlarging a blurry image does not restore missing letters.
- 2
Select just the heading
Zoom in, select the detected text and correct any scanning error. Enter the replacement, choose ADD and check that only this heading is in the pending changes.
- 3
Generate and inspect
Check spelling, spacing and line breaks at 100%. Then inspect nearby small text, icons, buttons, dividers and the full image. A correct heading alone is not enough.
- 4
Save the version you accept
Sign in to download. Generation uses 1 credit; a failed task with no result is refunded. Same-task retries and downloads cost no extra credits. Free exports include a product mark; paid exports do not. Files are kept for 48 hours.
Fit the new name to the old screenshot
The available space and image clarity matter.
A useful first edit
- One readable product heading
- A flat background and clear text edges
- A new name close to the original length
- A tutorial screenshot you have permission to edit
Inspect these details
- Long names that wrap or overlap controls
- Small captions and dense table cells
- Icons, button outlines and thin dividers
- Changes in sharpness across the whole image
Font style and surrounding details can change. Keep the original and review both full images before sharing your tutorial.
Screenshot editing questions
Old tutorials, replacement length and interface details.
Update the name in your tutorial screenshot
Start with one heading. Review the complete result.
Upload a screenshot